Monday, June 22, 2015

Baseball theme for Father's Day

My dad's birthday often coincides with Father's Day so he usually gets one gift to cover both occasions.  He's a big-time Detroit Tigers fan, so I made him a baseball-themed gift this year.

The card is simple: a strip of patterned paper, three stars, a baseball, and "Dad" stamped on the card.  Of course I chose navy and orange for the Detroit Tigers.  The stars were made on my Cricut.  To make the baseball, I cut two of the same circle.  Then I laid the 2nd circle on top of the first, slightly overlapping. I traced the curve of the 2nd circle on to the first with a red marker.  Then I added the little "stitches" with red marker to make the baseball's seams.

He got a  Tigers shirt for his birthday, plus a variety of ball-park snacks like peanuts and Cracker Jacks.  I also made him some baseball cookies.  You can see how I made those by clicking here.


Happy birthday and Happy Father's Day, Dad!  I hope the Tigers are good this year!

Saturday, June 20, 2015

Cute Foxy Baby Shower Card


I made this quick card for a baby shower.  I love the pinks and greys together.

I cut the four rectangles out of coordinating patterned paper and inked the edges with grey ink.  I stamped the fox on white paper with grey ink and added the little heart with pink ink.  Then I inked the edges of the white paper and mounted it on grey paper.  I stamped the circle with grey ink and the words & heart with pink ink.  After cutting out the circle, I added it to the card with dimensional adhesive so it would stick up a bit.

Patterned paper: Lollydoodle from Close to My Heart
Fox stamp: Wild About Love from Close to My Heart
Circle stamp & words: Express Postage from Close to My Heart
Heart stamp: You're The Bomb from Close to My Heart
Inks: Slate and Cotton Candy from Close to My Heart

Tuesday, May 26, 2015

End of the Year Teacher Gift - Movie Theater Gift Card

I decided to get my son's teacher a gift card to the local movie theater.  But I didn't want to just hand her a gift card without dressing it up a bit!


So I made a card that looked like a popcorn bucket and put the gift card inside with my note of thanks.  Then I stacked the card, some Milk Duds, and some microwave popcorn and tied it all with a ribbon.  Because, have you tried eating Milk Duds and popcorn together?  Perfection.


And here it is all put together!  Another successful school year is almost over.

Sunday, May 24, 2015

Simple Graduation Card

I work with the youth group at my church so I attend a lot of graduation open houses every year.  When I make graduation cards, I like to keep it simple.  It doesn't get much simpler than this!

I started with a blank white card base. Using scraps of grey, black, and pink glitter papers, I cut little banners for each card.  Then I stamped the word "Graduate" and the mortar board hat directly on the card base.

The supplies are from Close to My Heart and my CTMH consultant gave me the design for the card and taught me how to make those little banners symmetrically.  Love her.


The "Graduate" stamp is from the CTMH "Congrats Graduate" stamp set.
The mortar board stamp is from the CTMH "Kudos" stamp set from the Cricut Artiste Collection.

Sunday, May 10, 2015

Under the Sea Cookie Favors

My church recently held a formal banquet for the senior high youth group and I was asked to make some cookies.  The banquet theme was "Under the Sea" and I finally got to use my seahorse and tropical fish cookie cutters.


I played a little with the colors.  The fish are a mix of blue and teal.  The seahorses are a mix of pink and yellow and orange.

I packaged two cookies into a bag and tied it with a ribbon so they could be used as party favors for the guests.

They put the rest of the cookies on a platter to serve at the banquet and they were eaten quickly!


I think the cookies looked great with the table settings designed and assembled by another church member.

People more talented than I designed and made the Under the Sea decorations - complete with a shipwreck that served as a photo backdrop, and lighted jellyfish that hung from the ceiling!

Monday, December 22, 2014

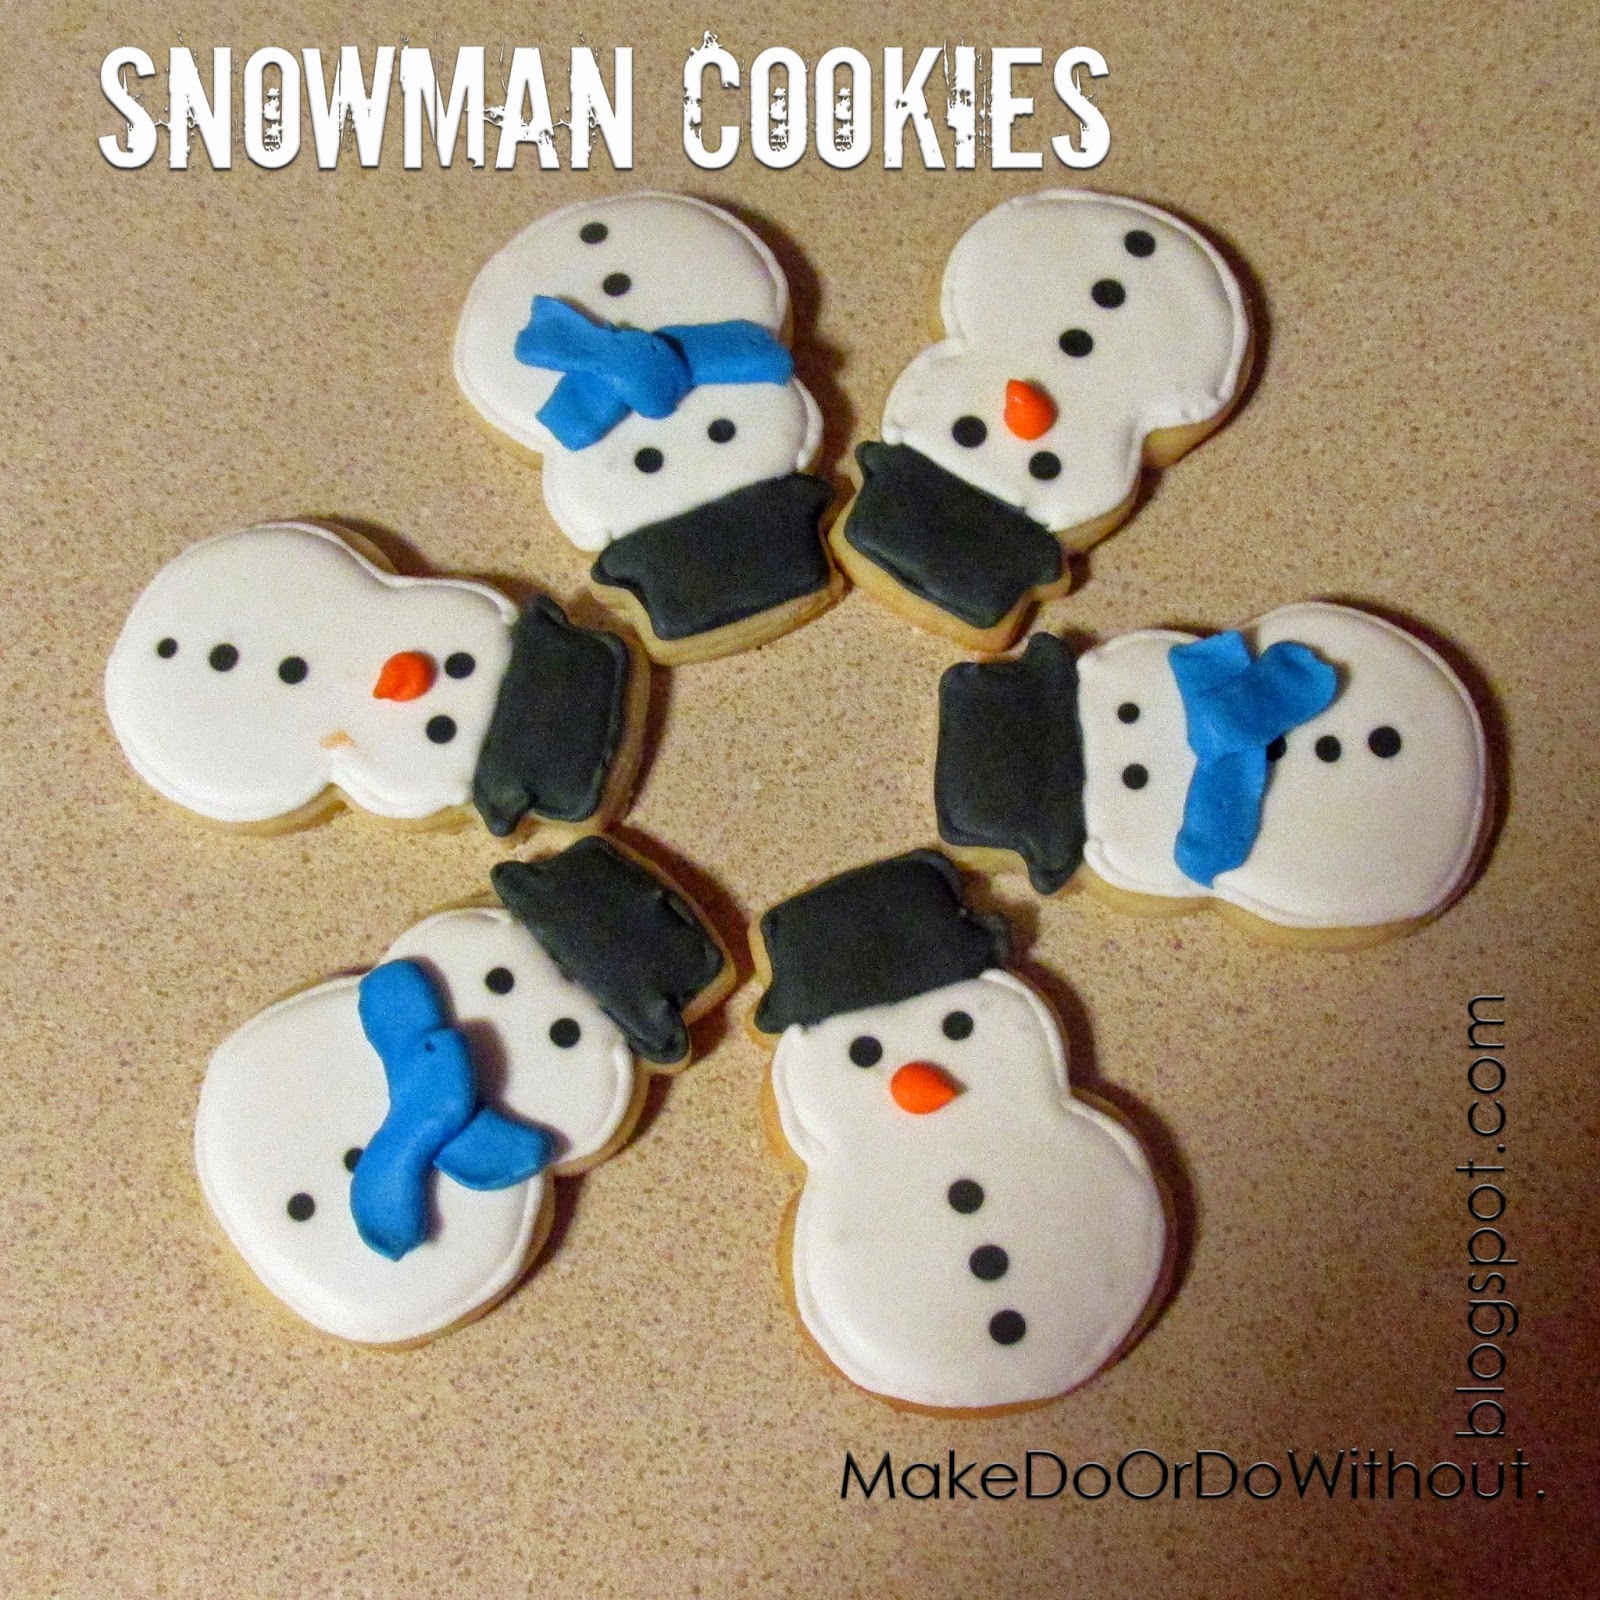
Cute Snowman Cookies

Although we have absolutely NO snow on the ground here this December (which is highly unusual!), I decided to make snowman cookies.


Here's a quick tutorial for icing the snowman cookies.  Start by outlining then filling the hat (I used black).  Then outline the snowman with white.  When you fill the snowman with white, use black icing to drop dots for the eyes and buttons (before the white icing dries).  Then you get nice, flat dots.  After that has all dried, add your embellishments.  I did a simple carrot nose on some, and a blue scarf on others.


Hope you enjoy these!  And may all your Christmases be white.


Tuesday, December 2, 2014

Harry Potter Themed Necklace


It's no secret that I LOVE Harry Potter.  My niece is a fan, too, so I made her this necklace for her birthday.  You can make one too!

Supplies Used:
Deathly Hallows charm - I ordered these from amazon.com (click here for link)
Owl charm - I think I ordered these from Oriental Trading, but it was so long ago, I've forgotten (click here for similar)
Mischief Managed pendant - I made this using Base and Bling products from Close to My Heart.
Chain - a Close to My Heart Base and Bling product.
Jump Rings

For the Mischief Managed pendant, I found the artwork online and printed it out so it would fit in the 1" circle pendant.  I cut it out using a 1" circle punch and fit it into the pendant base.  Then I used Liquid Glass to adhere the round glass cover over the paper.  It's so easy!  I checked out this video tutorial for the how-to.

I liked the result so much, I almost kept this necklace for myself.  I guess I'll have to make another one!