Saturday, March 17, 2012

Lucky Leprechaun Dinner

The kids were elated with our dinner tonight: a fruit rainbow with a pot of gold (homemade chicken nuggets) at the end!


For dessert we had rainbow Jello.  I had seen on Pinterest that if you layer blue, yellow, and red Jello, it should make a rainbow because there will appear to be orange and green between the layers.  I couldn't get a good picture, but I would say it sort of worked. 


There appeared to be a green layer between the blue and yellow. But I didn't really see an orange layer between the yellow and red. Maybe it's due to the fact that I used sugar free Jello for the red and yellow and regular blue Jello? Or possibly, it has to do with how long the Jello sets before adding the next layer. Doesn't matter. The kids thought the Jello was fabulous. Especially when I added a whip cream "cloud" to the top.

Happy St. Patrick's Day!


I had so much fun making these cookies because I got to make all those colors of frosting!  Yes, there were a lot of little bowls and icing tips to wash afterward, but the happy little rainbows were worth it.


My son Aaron enjoys using all the crayons in his box, too.  Here's a cute drawing he brought home from school Friday.


And here's a felt shamrock pin I made last year.  Instead of outlining the shapes with beads, I wish I had filled them in entirely.  Guess that means I get to make another one.


Stay tuned for our St. Patrick's day dinner featuring more rainbows!

Tuesday, March 13, 2012

Today's Project: Felt Bird Brooch


I made this pin out of felt, ribbon, embroidery floss, and seed beads today.

For a cardstock pattern, I cut out the bird, the wing, and the circle shapes from my Cricut Art Philosphy cartridge.  Then I taped the cardstock shapes to the felt and cut them out.  (Cut two of the circles.)  I sewed a 1-inch bar pin to one of the circles, and set the other circle aside.

Next, I sewed the wing onto the bird while attaching the seed beads.  This part took a while, and you could just sew on a plain felt wing, but I'm partial to beads.  I also sewed on a single bead for the eye.

I cut 2 lengths of ribbon, made them into loops, and secured them to the circle that I had set aside earlier.  Then I lined up my felt bird so that the ribbons would become his tail, and sewed the bird to the circle.

Finally, I blanket-stitched the two circles together and my brooch was complete!

Friday, March 9, 2012

Western Cookies


I'm getting together with some friends tonight to work on our scrapbooks.  The theme for the evening is "western" so I decided to make some cookies to go with the theme.  Yee-haw!

Usually I just make a bunch of one design of cookie, but I wanted to try making a variety of designs that fit the theme.  The only western-ish cookie cutters I owned were the cactus and the star.  I had to draw the horseshoe and the boot onto circle and scalloped square cookies.


When making a variety of designs, it helps to limit your colors. This saves on cleanup later and helps the cookies look coordinated when displayed together.  You also have to have a plan so you know about how much icing to make in each color.

Here are the steps I went through to make these:
1. Black outline icing with #3 tip: Outline stars, cactus, and circles. Draw horseshoe and boot outline.     2.  Grey & black flood icing in squeeze bottles: Flood stars.  Flood horseshoes and, while grey icing is still wet, add drops of black flood icing.      3. White outline icing with #1 tip: Outline scalloped squares.     4.  White flood icing in squeeze bottle: Flood scalloped squares and circles.     5. Green and black flood icing in squeeze bottles: Flood cactus.  While green icing is still wet, add drops of black flood icing.     6.  Red flood icing in squeeze bottle:  Flood boots.      7.  Dry overnight.     8.  Black outline icing with #1 tip:  Add SHERIFF letters and details on boots.

Wednesday, March 7, 2012

Plants vs. Zombies Cookies

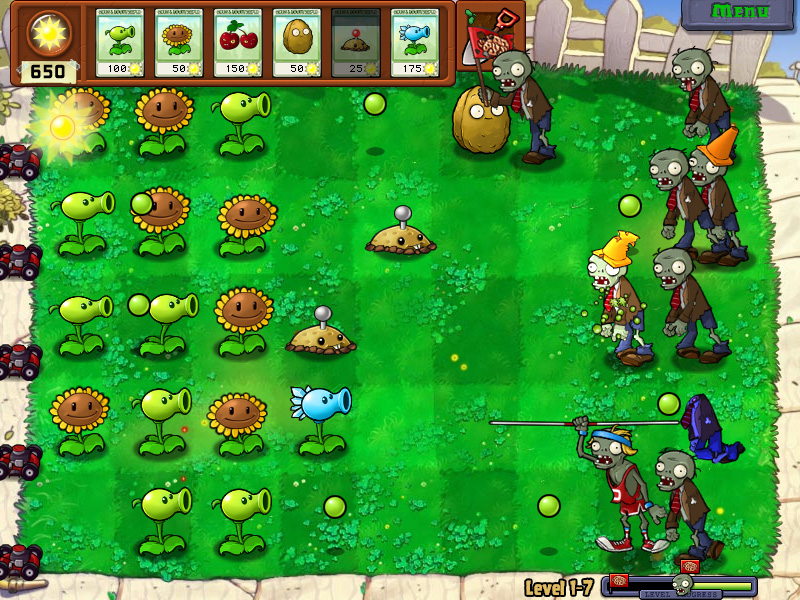
Have you ever played Pop Cap Games' Plants vs. Zombies?  It's highly addictive and my boys absolutely love it.

Last year, Spencer asked me to make him Plants vs. Zombies cookies to take to school and I accepted that challenge!

I used a circle cookie cutter to make the Zombie faces.


Step 1: Outline the head, eyes, and mouth with black icing (decorating bag and #3 tip).
Step 2: Flood the eyes with white icing (squeeze bottle).
Step 3: Flood the mouth with black icing (squeeze bottle).  Do 3 or 4 at a time and, while the icing is still wet, drop in some white icing (squeeze bottle) for the teeth.
Step 4: Flood the face with green icing (squeeze bottle).  Do 3 or 4 at a time and, while the icing is still wet, draw the nostrils, eyebrow and cheek line with the black icing (squeeze bottle).
Step 5: Drop some black icing on the eyes for the eyeballs once the white has dried.

Eat them before they eat your brains!

Tuesday, March 6, 2012

My Happy Place

I baked cookies today.  I love to bake cookies.  See that smile on my face?


Things that make me happy in this photo: my Albion shirt, my Michigan map apron, my red Kitchenaid mixer, a can of Diet Coke, my owl candle holder, sunshine outside the window, and COOKIE DOUGH!

 My best friend LOVES cookie dough almost as much as I do.  And I like to wipe my floury hands on my apron and show the world what a messy baker I am.

My work here is done.  And my kitchen smells amazing.

Stay tuned and I'll show you the finished decorated cookies in a few days!

Friday, March 2, 2012

{Pinterest Success} Braided Headband from a T-Shirt

Have you heard of Pinterest?  It's a wonderful website that helps you visually organize all of the web pages you want to bookmark onto a virtual pin board.  It has a social component as you can follow friends' "boards" and see their "pins".  There's also a search function if you're looking for something specific.

Most people I know on Pinterest have collected pages and pages of inspiration but have not yet had a chance to actually do anything with the inspiration.  Well.  Today I actually did a project I found on Pinterest and I liked how it turned out!
Here is the pin that caught my eye today.

Today was one of those days when I just didn't seem to have the time to wash my hair in the morning.  It's getting quite long and I really wanted a headband to keep it out of my face.  But, the majority of my headbands don't actually work.  Does anyone else have a collection of useless headbands?


I thought about how my favorite headbands are the fabric ones with a little bit of stretch, like a favorite t-shirt.  And the light bulb went off!  I hopped on Pinterest and searched "headband t-shirt" and several options popped up. I chose to follow the tutorial from the Make It & Love It blog that several people had pinned.

Luckily, I just happen to have several old t-shirts that are too short for my tastes.  I chose to use the red one with the white stripes.
Collection of too-small t-shirts to repurpose
I didn't take any pictures of the process because I was busy watching Downtown Abbey on Netflix while I happily braided my headband.  But here is the finished product!
My new headband that used to be a t-shirt!
The tutorial was well written and easy to follow.  I enjoyed learning the 5-strand braiding technique and will probably make more of these.  My only complaint is that the headband turned out a bit bulky at the base of my head where it was all joined together.  But that probably has more to do with my clumsy sewing technique than the tutorial itself.

So what have you made from Pinterest lately?